
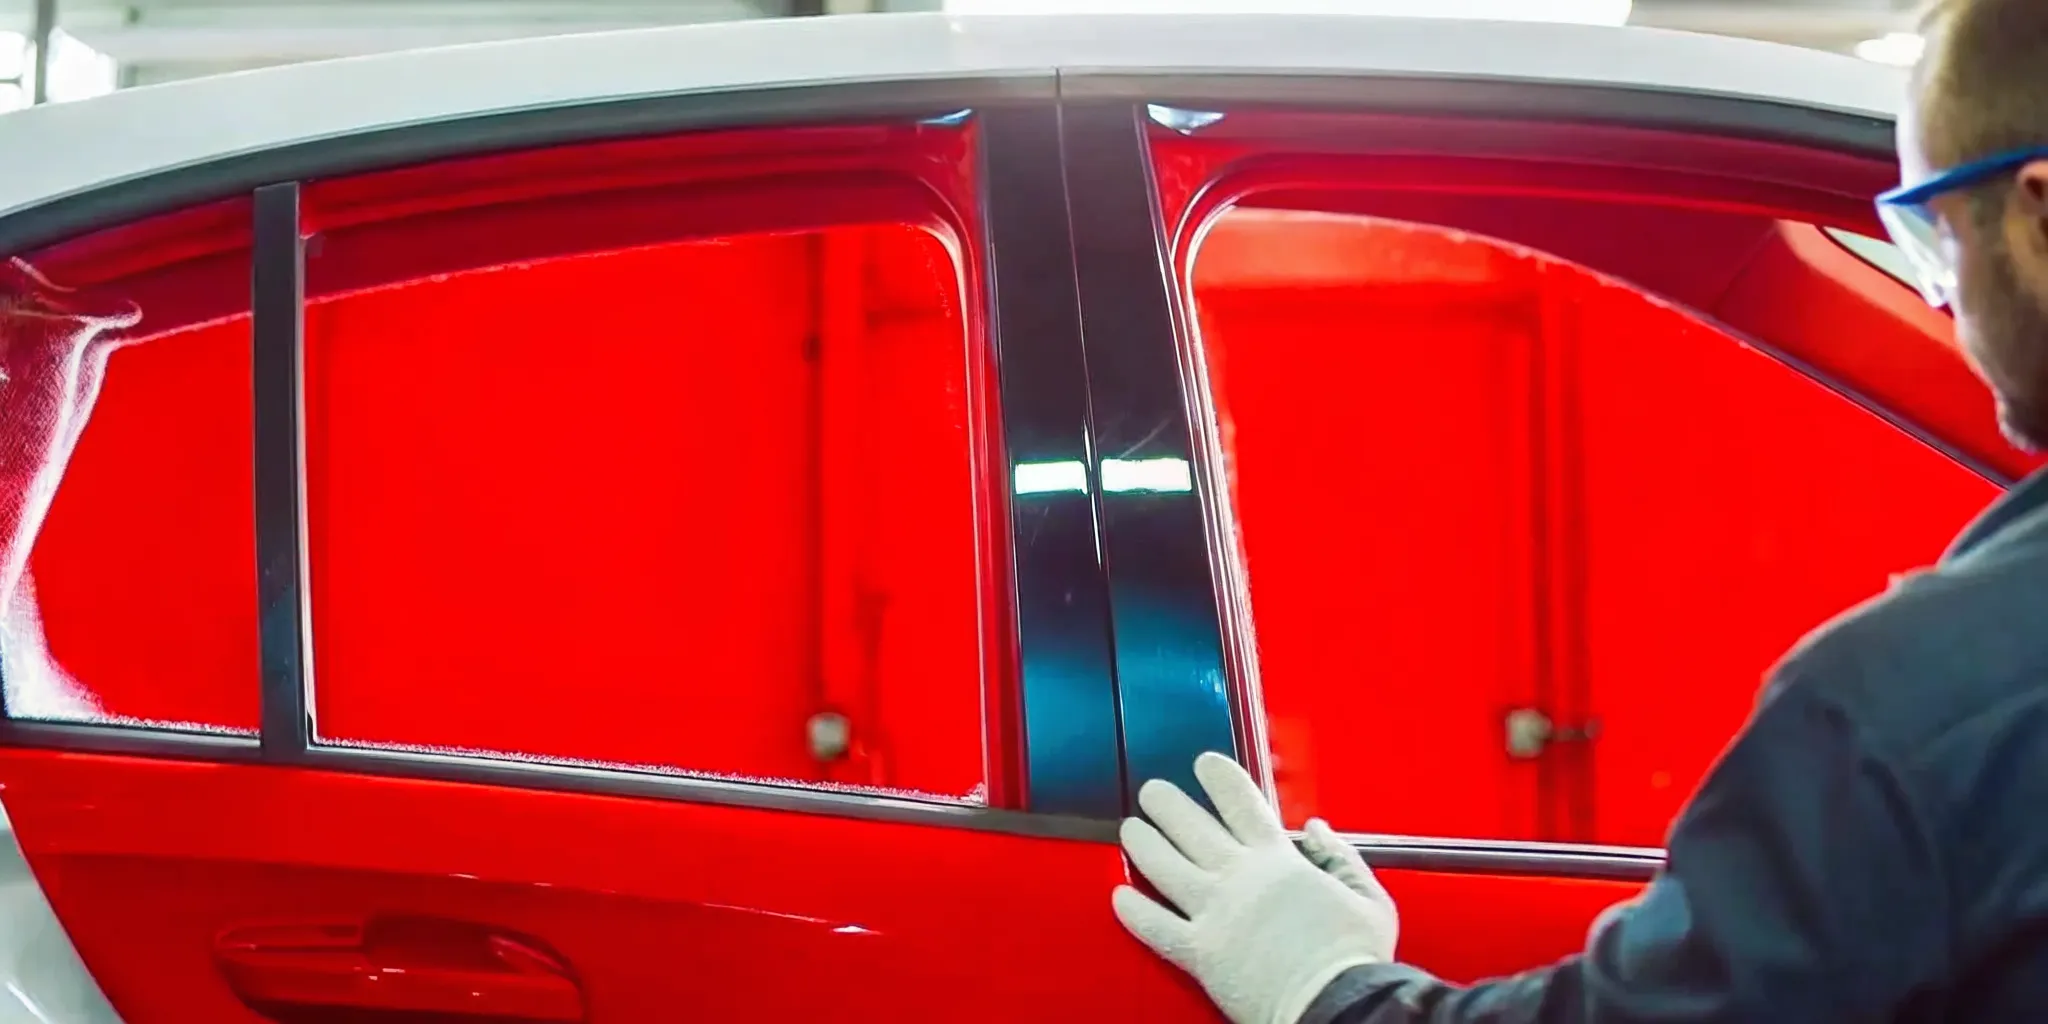
You might assume that a small broken window means a small repair bill, but that’s not always the case. The cost to replace a rear quarter glass panel can be surprisingly high, sometimes rivaling the price of a new windshield. This is because the part itself can be specialized, and the labor involved is often more complex than you’d think. Before you make any decisions, it’s important to understand what goes into the job. This article breaks down the factors that influence the price and the steps required for a proper Vauxhall Astra rear quarter glass replacement, helping you understand the value behind the service.
Key Takeaways
- A Cracked Quarter Glass Always Needs Replacement: Unlike a windshield that can often be repaired, your rear quarter glass is made from tempered glass. This means any chip or crack compromises the entire panel, causing it to shatter, so a full replacement is your only option.
- The Job Is More Than Just the Glass: The replacement cost often surprises people because it's a detailed process. A technician must carefully remove interior panels, clean old adhesive without scratching your paint, and apply a perfect new seal, which accounts for the labor involved.
- Hiring a Pro Buys You Peace of Mind: While a DIY approach is possible for the experienced, calling a professional eliminates the risk of leaks, wind noise, or a failed seal. You're paying for expertise, the right materials, and the assurance of a job done correctly and safely.
What is a Car's Rear Quarter Glass?
So, what exactly is this piece of glass we're talking about? Quarter glass is a side window in a car. It's usually the very last window on the side, found behind the doors and above the rear wheel. Think of it as the small, often triangular, fixed window that doesn't roll down. Its name comes from old car designs where it was about a quarter of the size of the main window. While car styles have changed, the name has stuck around.
This small panel plays a bigger role than you might think. It's not just there for looks; it helps fill the space where a roll-down window wouldn't fit, completing the car's design. More importantly, it contributes to the overall strength of your vehicle's frame. It also lets more natural light into the back seat, which can make the cabin feel more spacious and open for your passengers. Understanding its function is the first step in realizing why a proper replacement is so important for your vehicle's safety and integrity.
Its Location and Purpose on Your Astra
On your Vauxhall Astra, the rear quarter glass is the stationary panel located behind the rear passenger door. It's important to note that quarter glass is never located in the rear door itself. Its main job is to improve your visibility. It helps you see the area around your car, reducing blind spots when you’re changing lanes or backing up. This small window works with your rear windshield and side mirrors to give you a more complete view of your surroundings. It also adds to the structural stability of your Astra's roof and body.
Why You Shouldn't Ignore a Damaged Panel
It is extremely important to your safety that you replace the quarter glass if there is any damage to the auto glass pane. Unlike a windshield, which can sometimes be repaired, a damaged quarter glass almost always needs a full replacement. This is because it's made from tempered glass, which is designed to shatter into small, pebble-like pieces upon impact to prevent injury. A chip or crack compromises the entire panel's strength, making it a security risk and a safety hazard. If you're facing this issue, getting a professional assessment for your auto glass services is the safest next step.
Common Reasons for Rear Quarter Glass Damage
That small triangular window next to your back seat might not get much attention, but when it’s damaged, it’s a big problem. Unlike a windshield chip that you might watch for a while, a broken rear quarter glass usually means a gaping hole in your car. It’s a security risk and leaves your interior exposed to the elements. Understanding what causes this damage can help you know what to look out for.
Accidents and Collisions
It doesn’t take a major crash to shatter your rear quarter glass. Even a minor fender bender or a bump in a parking lot can send enough force through the car’s frame to break it. This glass is a type of safety glass, designed to crumble into small, pebble-like pieces upon impact. While this feature is great for preventing serious injuries during a collision, it also means the glass is more likely to shatter completely rather than just crack. If you’ve been in an accident, it’s always a good idea to check all your windows, not just the ones near the point of impact. Dealing with the aftermath is stressful enough, which is why having access to a full range of auto glass services can make the repair process smoother.
Theft and Vandalism
Finding your car with a broken window is incredibly frustrating, especially when it’s due to a break-in or random act of vandalism. Thieves often target the rear quarter glass because it’s small, discreet, and can provide a quick way to get into your vehicle. Since it’s less likely to be equipped with an alarm sensor and is often out of direct sight, it becomes an unfortunate weak point. The goal in this situation is to get your car secured as fast as possible to protect it from further issues, like weather damage to your interior. You can contact us for a free, same-day quote to get the process started and move on from the incident with one less thing to worry about.
Everyday Wear and Tear
Sometimes, rear quarter glass seems to break for no reason at all. This can be caused by a combination of factors that add up over time. A stray rock kicked up on the highway might cause a tiny chip that you don’t even notice. Over weeks or months, changes in temperature can cause the glass to expand and contract, putting stress on that weak spot until it finally gives way. This is especially true in places like Kansas City, where we see hot summers and freezing winters. Because this glass is a unique shape and size, it’s not as simple to replace as a standard side window. It’s important to trust the job to experienced technicians, and as a family-owned business serving the area for years, we know how to handle these specific repairs with care.
Tempered vs. Laminated: What Kind of Glass Are You Replacing?
Before you start any repair, it’s important to know what you’re working with. Not all auto glass is created equal. Your car uses two different types: laminated and tempered. Your windshield is made of laminated glass, which consists of a vinyl layer sandwiched between two sheets of glass. When a rock hits your windshield, this inner layer is what holds the glass together and prevents it from shattering into the car. It’s designed to crack but stay in one piece.
Your Astra’s rear quarter glass, however, is different. Like most side and rear windows, it’s made from tempered glass. This is a single pane of glass that goes through a rapid heating and cooling process to make it much stronger than normal glass. Its real magic, though, is in how it breaks. Tempered glass is a type of safety glass designed to shatter into thousands of small, pebble-like pieces with dull edges. This design drastically reduces the risk of serious injury from sharp glass shards in an accident or impact. So, if your quarter panel is damaged, you won’t see a crack; you’ll see a hole surrounded by a web of tiny fractures or a pile of glass pebbles.
How the Glass Type Changes the Repair Job
The type of glass directly determines whether you’re looking at a repair or a full replacement. Since laminated glass is designed to hold together, small chips and cracks in a windshield can often be filled with a special resin to restore its strength and clarity. Tempered glass doesn’t give you that option. Once its surface is compromised, its internal tension is released, and the entire pane shatters. There’s no way to "repair" thousands of tiny pieces.
This means a damaged rear quarter glass always requires a full replacement. The job involves more than just swapping out the panel; the technician has to carefully remove interior trim, clean out all the shattered pieces, and ensure the new glass is sealed perfectly to prevent leaks and wind noise. Because of the intricate shapes and installation process, a small quarter window can sometimes cost more to replace than you might expect.
Gather Your Tools, Supplies, and Safety Gear
Before you start, getting all your ducks in a row will make the entire process smoother and safer. Like any project, having the right equipment on hand is half the battle. You don’t want to be halfway through removing the old glass only to realize you’re missing a crucial tool. Taking a few minutes to prepare your workspace and gather your supplies ensures you can focus on doing the job right. This preparation also includes thinking about your safety. You’ll be working with glass and strong adhesives, so protecting yourself is just as important as protecting your car. Let’s walk through exactly what you’ll need to have on hand, the safety measures to keep in mind, and a few common pitfalls you’ll want to sidestep for a successful replacement.
Your Essential Toolkit Checklist
Think of this as your recipe for success. Having these items ready will prevent any mid-project scrambles. You’ll need the correct replacement quarter glass for your Astra model, a strong automotive adhesive to secure it, and a set of trim removal tools to get into the panel without scratching anything. Keep clean rags and a utility knife handy for cleanup and cutting away old sealant. A dedicated glass removal tool can make getting the old panel out much easier. Most importantly, you'll need a quality adhesive like 3M Window Weld and a caulk gun to properly seal the new glass and prevent leaks down the road.
Key Safety Precautions to Take
Your safety should always be the top priority. Start by putting on a good pair of safety gloves to protect your hands from sharp glass edges and chemicals. Quarter glass is typically tempered, meaning it’s designed to shatter into small, less harmful pieces, but it's still sharp. When using a utility knife to cut away old adhesive, always cut away from your body to avoid injury. After you’ve installed the new glass, the most critical safety step is patience. You must let the adhesive cure completely. Check the manufacturer’s instructions for the minimum drive-away time and stick to it; this ensures the glass is securely bonded to your vehicle before you hit the road.
Common DIY Mistakes to Avoid
A successful replacement is all in the details. One of the most common issues DIYers run into is damaging the new seal during installation, which can cause frustrating leaks later on. Take your time and be gentle as you place the new glass. Another frequent mistake is rushing through the disassembly of the interior trim or door parts to get to the frame. It can be tempting to hurry, but this often leads to broken clips or scratched panels. Other drivers who have tackled this job often advise taking your time to carefully remove each component. A little patience upfront will save you a lot of headaches.
How to Replace Your Astra's Rear Quarter Glass: A Step-by-Step Guide
Replacing your Vauxhall Astra’s rear quarter glass is a detailed job, but it’s manageable if you have the right tools and a bit of patience. This guide breaks down the process into clear, actionable steps. Remember, working with glass and adhesives requires precision, so take your time and prioritize safety above all else. If you read through these steps and feel it’s more than you want to take on, that’s completely understandable. A professional can handle this job quickly and ensure a perfect, leak-free fit. For now, let’s walk through what the process involves.
Step 1: Prep Your Work Area
Before you start, get your workspace in order. A clean, well-lit area is non-negotiable. Clear out any clutter around the car to give yourself plenty of room to move. Gather all your tools, the new quarter glass, and your adhesive kit so everything is within arm's reach. It’s also a smart idea to lay down a blanket or drop cloth inside the car to catch any debris and protect your interior. Taking a few minutes to prepare your workspace not only makes the job easier but also helps prevent accidental scratches to your paint or damage to your car’s interior.
Step 2: Remove the Interior Trim
To get to the quarter glass, you first need to remove the interior trim panel that covers it, which is usually the C-pillar trim. This panel is typically held in place by a series of hidden clips. Use a plastic trim removal tool, not a screwdriver, to gently pry the panel away from the car’s frame. Start at one edge and work your way around, listening for the clips to pop loose. Applying steady, gentle pressure is key here to avoid snapping the clips or cracking the plastic trim. Once it’s free, set the panel aside somewhere safe.
Step 3: Loosen the Nuts Securing the Glass
With the trim panel out of the way, you should now see the nuts that hold the quarter glass in place. There are usually two or three of them threaded onto small studs attached to the glass. Using a socket wrench, carefully loosen and remove these nuts. A magnetic tray is a lifesaver here for keeping track of the hardware so nothing gets lost in the process. Don’t worry, the glass won’t fall out just yet. It’s still held firmly in place by a strong layer of urethane adhesive, which we’ll tackle in the next step.
Step 4: Carefully Take Out the Old Glass
This is where things get serious, so it’s time to put on your safety glasses and a pair of thick, cut-resistant gloves. The old glass is sealed to the car’s body with a tough adhesive that you’ll need to cut through. You can use a special auto glass cold knife or a sturdy utility knife with a fresh blade. Carefully work the blade between the glass and the car frame, slicing through the urethane seal. Always cut away from your body and take your time. Having a friend support the glass from the outside can prevent it from unexpectedly falling once it’s free.
Step 5: Clean the Frame and Apply New Sealant
A perfect seal starts with a perfectly clean surface. You need to remove every last bit of the old urethane from the car’s frame. A razor scraper can work well, but be extremely careful not to scratch the paint. Once the frame is clean, wipe it down with a residue remover. Next, apply painter’s tape around the outside of the opening to protect your paint from any excess adhesive. Now, you’re ready to apply a new, continuous bead of automotive urethane adhesive around the frame. An even, consistent bead is crucial for creating a watertight seal.
Step 6: Set and Secure the New Glass
With the new adhesive in place, it’s time to install the new glass. If you have a pair of heavy-duty suction cups, they can make handling the glass much safer and easier. Carefully lift the new quarter glass and position it into the opening, aligning the mounting studs with the holes in the frame. Gently press the glass into the urethane bead to set it firmly. From inside the car, thread the nuts you saved earlier onto the studs and hand-tighten them. Be careful not to overtighten, as too much pressure can crack your brand-new glass.
Step 7: Reinstall the Trim and Let the Sealant Cure
Once the glass is secured, you can snap the interior trim panel back into place. The final and most important step is to let the adhesive cure properly. Check the instructions on your urethane kit for the manufacturer’s recommended "minimum drive-away time." Do not drive the car until this time has passed, as movement and vibration can compromise the seal. It’s also wise to avoid high-pressure car washes for a few days. Patience here ensures your hard work results in a strong, permanent, and leak-proof installation that will last for years.
What's the Cost to Replace the Rear Quarter Glass?
When you see a small, broken quarter glass panel, you might assume the repair bill will be equally small. Unfortunately, that’s not always the case. The cost to replace this little window can sometimes be surprisingly high, occasionally even rivaling the price of a new windshield. The final price tag depends on a few key factors: the specific make and model of your car, the type of glass required, and the labor involved in the replacement.
The complexity of the glass itself and the process to install it are the main drivers of the cost. Unlike a simple pane, this glass is often curved and shaped to fit the unique design of your car. Getting an accurate estimate is the best first step. At Avision, we provide a free same-day quote so you know exactly what to expect before any work begins. This helps you make an informed decision without any pressure.
Breaking Down the Price of Parts
You might experience some sticker shock when you see the price for the quarter glass part alone. It’s a common misconception that a smaller window should be cheaper. However, it’s not unusual for a rear quarter window replacement to approach $500 for both parts and labor. This is because these panels are often more specialized than they appear. They can have unique tints, heating elements, or even embedded antennas. Since they are replaced less frequently than windshields, they are often produced in smaller quantities, which can also increase their cost.
Understanding Professional Labor Costs
The other major part of your bill is the cost of professional labor, and for good reason. Replacing a quarter glass panel is often a delicate and complex job. To access the window, a technician may need to carefully remove interior trim panels, seats, and weatherstripping. This process requires precision and experience to avoid damaging your car's interior. The intricate shapes of these windows and the need to disassemble parts of the car’s trim contribute significantly to the labor cost. This is where hiring a licensed and insured technician from our auto glass services team makes all the difference, ensuring the job is done right without causing any collateral damage.
DIY vs. Professional Replacement: Which Is Right for You?
Deciding whether to replace your Astra’s rear quarter glass yourself or call in a pro can feel like a tough call. On one hand, a DIY project can be satisfying and potentially save you a few bucks on labor. On the other hand, auto glass is a critical safety feature, and a mistake can lead to bigger problems like leaks, wind noise, or a seal that fails when you need it most. This isn't just about swapping out a piece of glass; it's about ensuring your car remains secure and weatherproof for years to come. Your decision really comes down to your experience level with car repairs, access to the right tools, and how much you value peace of mind. While some smaller car projects are great for a weekend afternoon, messing with auto glass can have serious consequences if not done perfectly. To help you choose the right path, let's walk through when a DIY approach might make sense, when it's best to call for professional auto glass services, and how to care for your new glass once it's installed.
When to Tackle the Job Yourself
If you have a well-stocked garage and a good amount of experience with car repairs, you might consider this a manageable project. To do it right, you'll need more than just the replacement glass. Your shopping list should include a specialty glass removal tool, strong urethane adhesive, and primer, not to mention basic safety gear like heavy-duty gloves and eye protection. Even though it’s a small window, the process requires precision. You have to remove the old glass without scratching the car's paint and apply the new sealant perfectly to prevent leaks. If you’re comfortable with detailed, multi-step repairs and aren't afraid to get your hands dirty, this could be a rewarding DIY job.
Knowing When to Call a Professional
For most people, calling a professional is the smartest and safest choice. That small quarter glass panel is made of tempered safety glass, and it plays a role in your vehicle's structural stability. A professional technician ensures the job is done correctly with industrial-grade adhesives that create a permanent, waterproof bond. They also understand the adhesive's minimum drive-away time, which is the crucial waiting period before your car is safe to operate again. When you contact a professional, you’re not just paying for labor; you’re paying for expertise, the right tools, and the peace of mind that comes with a lifetime workmanship warranty. It takes the guesswork and risk completely off your plate.
How to Care for Your New Glass
Whether you did the job yourself or had it done professionally, proper aftercare is key to a long-lasting seal. First, you’ll need to let the adhesive fully cure. Avoid high-pressure car washes for at least 48 hours, as the force of the water can damage the fresh seal. It’s also a good idea to leave a window slightly cracked for the first 24 hours. This prevents air pressure from building up inside the car when you close a door, which could put stress on the new sealant. Finally, keep the area around the new glass clean and free of tape or debris. Following these simple steps will ensure your new quarter glass stays put for years to come.
Related Articles
- Rear Quarter Glass Replacement: Step-by-Step — Avision Auto Glass
- Side Window Replacement 101: A Complete Guide — Avision Auto Glass
- Emergency Auto Glass Replacement: A Quick Guide — Avision Auto Glass
- Type of Glass Is Used in Car Windows — Avision Auto Glass
- Back Windshield Replacement: What Will It Cost You? — Avision Auto Glass
Frequently Asked Questions
My quarter glass only has a small chip. Can it be repaired instead of replaced? Unfortunately, no. Your car's quarter glass is made from tempered glass, which is designed differently than your windshield. When it gets damaged, even from a small impact, its structural integrity is compromised and it shatters into many small pieces. This is a safety feature, but it means that unlike a windshield crack, a damaged quarter glass can't be filled with resin. The only safe and correct solution is a full replacement.
Why does it cost so much to replace such a small piece of glass? It’s a fair question, and the answer comes down to the complexity of both the part and the labor. This small window is often a specialized part with unique curves, tints, or even embedded antennas specific to your car model. The replacement process itself is also quite involved. A technician has to carefully remove interior panels to access the window, clean the frame perfectly, and apply a new seal, which requires more time and skill than you might expect.
Is it dangerous to drive with a broken quarter glass? Driving with a broken quarter glass is not a good idea for a couple of key reasons. First, it leaves a gaping hole in your car, making it an easy target for theft and exposing your interior to rain and debris, which can lead to mold or electrical issues. Second, while it's a small panel, it does contribute to your car's overall structural strength. Getting it replaced quickly is the best way to keep your car secure and prevent more costly damage down the road.
How long does it take to get the quarter glass replaced? For a professional technician, the hands-on work of replacing the glass usually takes about an hour or two. The most important part of the timeline, however, is the adhesive curing period. The special urethane used to seal the glass needs time to set properly to create a strong, waterproof bond. You will need to wait for the recommended "minimum drive-away time," which can be a few hours, before your car is safe to operate again.
If I try to replace it myself, what's the most common mistake to avoid? The biggest and most frustrating mistake people make during a DIY replacement is failing to create a perfect seal. If the old adhesive isn't completely removed or the new bead of urethane is uneven, you will almost certainly end up with water leaks or annoying wind noise. Rushing the job and scratching your car's paint or breaking the interior trim clips are also very common pitfalls.
Double-click to edit...
